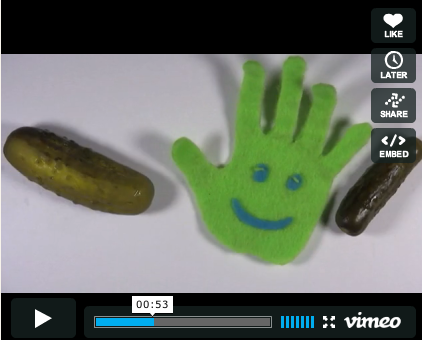
Let’s say you’re a fan of pickles. You like them on pastrami sandwiches or in tuna salad, and you love them in hands-on science. So of course you’ve field-tested the Make a Pickle Battery activity and are thrilled with the Kosher Dill Current stop action animation video that brings that activity to life.
Now you want to make and upload your own short video that’ll give the howtosmile.org community a taste of how you do pickle science.
But just how are you going to make that video? If you already have a high-end digital video camera, professional backdrops and lighting, and FinalCut pro, no problem. You can stop reading right now.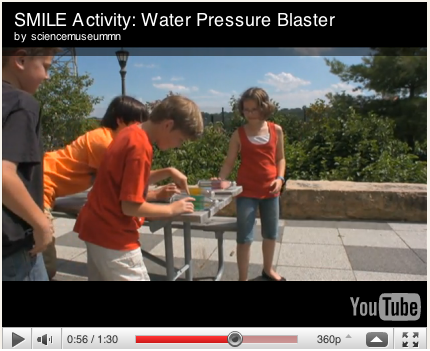
For the rest of us, let’s see how Asia Ward and Peter Kirschmann of the Science Museum of Minnesota (SMM) make very cool videos on a relative shoestring. They've already made several videos of howtosmile.org activities, including the Pickle Battery Video mentioned above and the Water Pressure Blaster video (on activity page, scroll down and look for video on the lower left).
They often use a Canon Vixia HV30 camera (a similar camera lists online for about $750), but they’ve also created stop motion animation with a webcam that can be had for about $40 (providing you already have a laptop computer to act as the webcam’s ‘brain’).
Asia & Peter’s recipe for inexpensive stop motion animation and time-lapse videos
Materials needed
• Computer (laptop preferred, so you can move it around and film in different locations)
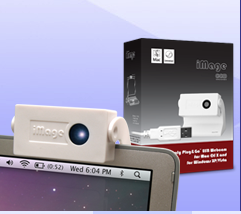 • Webcam: the SMM team suggests using a webcam like the iMage USB webcam Just plug it in, and adjust your camera settings in your animation software. That way you can mount the webcam facing downward to do horizontal animations. (You could even use a still camera, but Asia says that takes longer, to download individual shots and then organize them in an animation program.)
If you have a laptop with a built-in webcam, you can use that as your video camera. But then you have to do vertical animations.
• Editing software: Asia and Peter suggest SAM (Stop Motion Animation) software, which works for PCs and Macs, but is better on Macs. They’ve also used iStop Motion to good effect. Both programs go for about $50 each.
• Sound editing software: To do voice-overs, SAM has a sound option. You can also import recordings and music tracks from Garage Band, which comes with Macs; for PCs, try Audacity.
• Lighting: Asia says four bright, non-heat-producing lamps will work, but it’s great to also have a light table, like one you’d views slides on. They can be expensive, so why not make your own light table own for under $30.
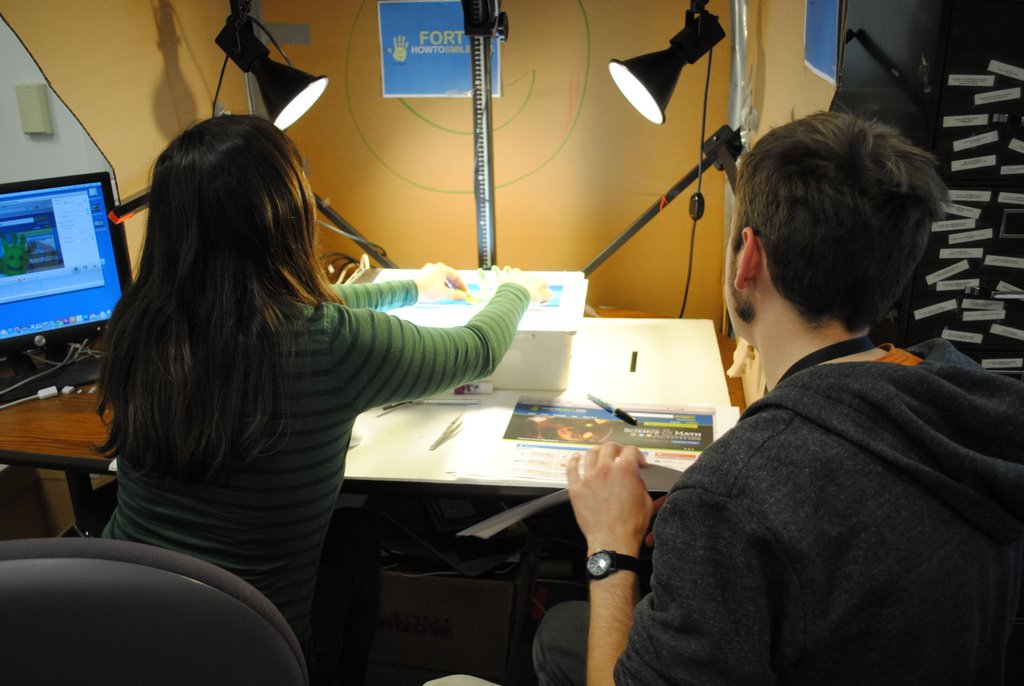
• Materials for stop motion animation: The bright green animated SMILE hand in the beginning of the Pickle Battery Video is made of felt and wire. Same with the ‘maggot’ in the Fruit Fly DNA video—it’s a felt-and-wire puppet that is both stiff and flexible enough to wiggle convincingly. You could use clay figures, or even just pieces of colored paper that you move around. If you are doing a vertical animation, you can draw and erase on a white board, or use magnet shapes. In the photo below, Asia and Peter are manipulating a green felt hand across a mock-up of the SMILE web site to make the Pickle Battery Video.
Time needed
Stop motion animation isn’t quick. Asia says that you need at least 10 frames a second, and that even just spelling out a four-letter word takes about 10 to 30 frames. And remember, you stop between each frame, rearrange your felt hand or clay figure or whatever, and then shoot another frame. (Are you starting to gain new respect for the makers of Wallace & Gromit?)
The 20-second animated introduction to the Magnus Glider video took over 3 hours to create. That includes set up, voiceover, redos, and editing.
Live video is quicker. You can take your laptop (with the webcam clipped to the screen) outside and film kids doing the activity, then put together the live video and the stop motion shots with the SAM (or other) editing software.
The three-minute videos Asia and Peter created each took them a couple of days.
Step-by-step instructions
1. Make sure you have all your equipment ready and in good working order: laptop, webcam, editing and sound software, lamps, light table, and physical objects for your stop motion animation sequences. If you’re doing live video, you’ll probably want people. Let's hope they won’t demand their own dressing rooms.
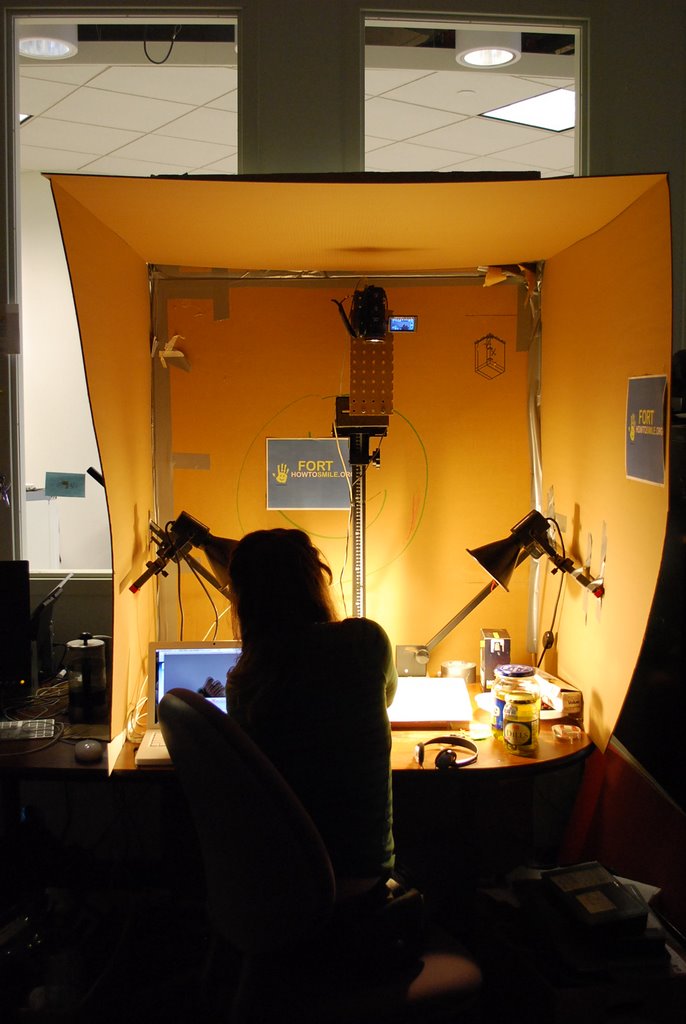
2. If possible, set aside a place where you can keep all of this stuff set up for the duration of the project. Setting up is one of the more time-consuming parts of the filming process. Make sure your lighting is consistent. You might need to work in a room without windows, or build a box around your Animation Station. Check out the photo at left of Asia and Peter's 'Fort SMILE' set-up, with two lamps, a laptop to Asia's left, a light table to her right, and the camera mounted overhead.
3. For horizontal stop motion animation: set up the webcam directly above the light box or table top, then start filming. The SAM animation software web site has some good basic how-to FAQs to help you install and use the editing software.
4. Time-lapse videos are great for chemical reactions, or an action that takes hours or days to complete (like rotting fruit, or recording the ebb and flow of sunlight, people, the weather). Most time-lapse videos will need to have the webcam facing vertically. On the SAM animation software web page there is a video tutorial of how to do time-lapse animation.
5. The webcam should show up in SAM, and you should see on the screen what the webcam sees. Click the spacebar, or use your mouse to click the camera button, and you’ve taken your first shot! Edit your movie in SAM before uploading to a video server like YouTube or Vimeo, after which you can embed the video on the howtosmile.org site. Just know that if if you're uploading your video onto a public video server, and you have kids in your video, you have to set privacy settings, need legal written permission from the kids' parents, and you should identify them by their first names only.
6. The last step is to add sound: To do voice overs, SAM has a sound option. You can also import recordings and music tracks from Garage Band, which comes with Macs; for PCs, try Audacity. Remember about copyright and legal issues concerning music -- you need to have written permission from the artists to use their stuff. Of course, you can make and upload your own music, or ask your friends if you can use theirs. Asia and Peter asked permission from YACHT to use their music for the SMILE animations.
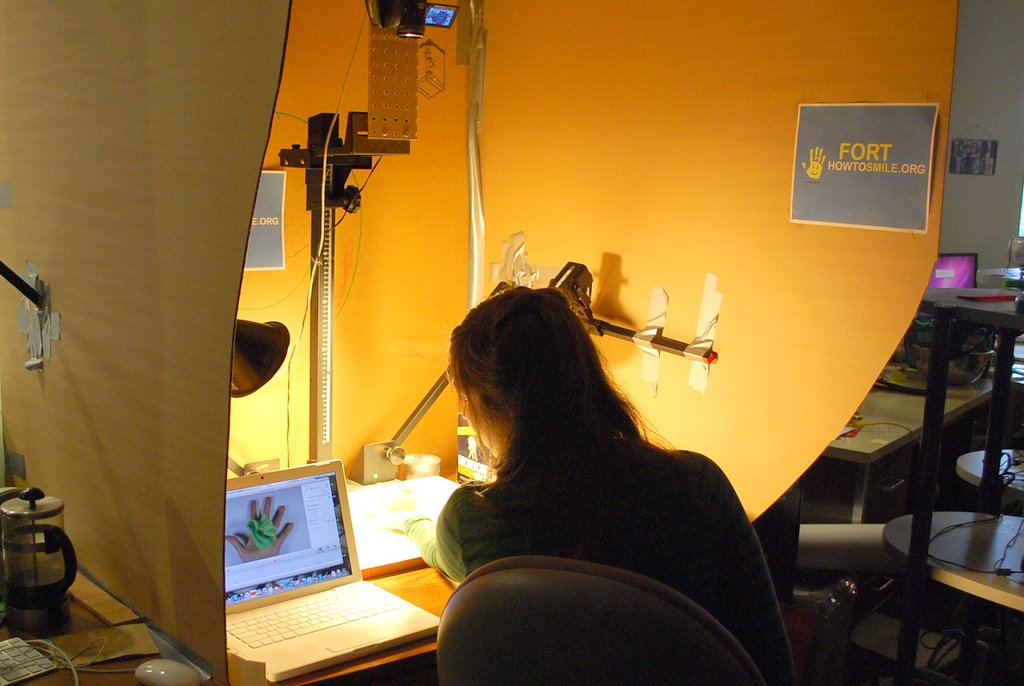
Photo below right shows Asia using her hand and a green felt hand to animate instructions for the Pickle Battery Activity. She can see what she's filming on the laptop as she films it.

